Why I love springs
Along with unique beads and jewelry-making tools, wire is one of my most important supplies.
Although I often work in sterling silver, I use springs to add color, texture, and volume to a piece. My art wire comes from Parawire, and I love their enamel over copper. Their gorgeous lighter shades are silver plate to make the colors true.
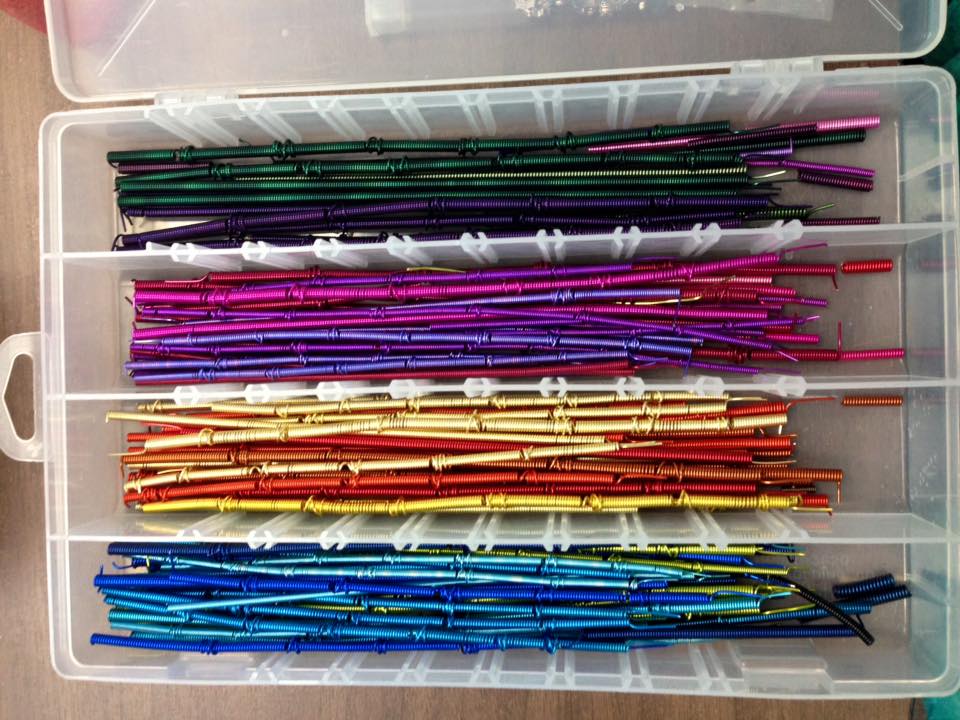
I have a tackle box full of pre-coiled springs, always at the ready. They’re fun to use just like beads, and their bendy-ness creates endless options and combinations for my art.
Using springs in art and art jewelry
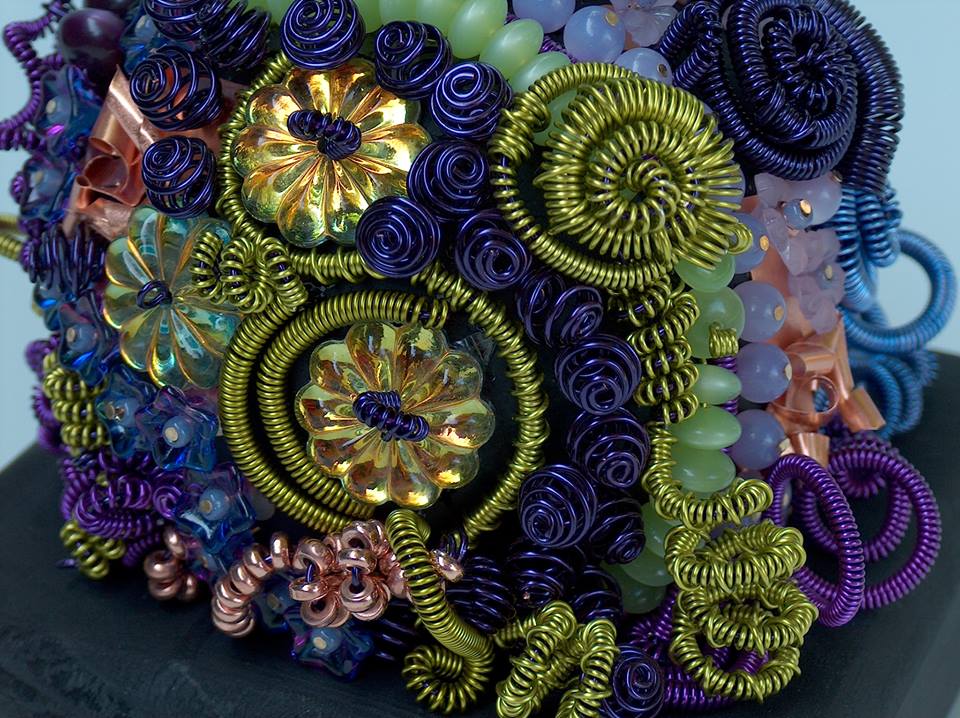
Springs create the illusion of bulk without adding a lot of weight. Because wire comes in so many colors—copper, sterling, and myriad rainbow shades–you can introduce color into a piece without using beads.
You can bend them through or around a piece, or use them structurally. I sometimes use contrasting wire inside the spring for peeks of color when it is coiled.
How to create your own springs
There are lots of ways to make springs, and the two I use both start with a mandrel. Almost any cylindrical, hard object will work, but mandrels used by lampwork artists are great; they’re sized and have finished ends. For a long time, one of my favorite mandrels was a pen. Just be sure that the mandrel ends are the same diameter or smaller—otherwise you’ll be the proud owner of a wire-wrapped object, rather than a spring.
The low-tech way is to wrap the wire by hand around a mandrel to the desired length, the same technique as making jump rings by hand.
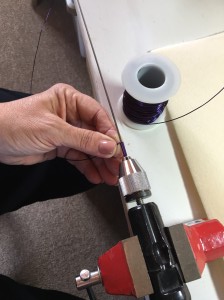
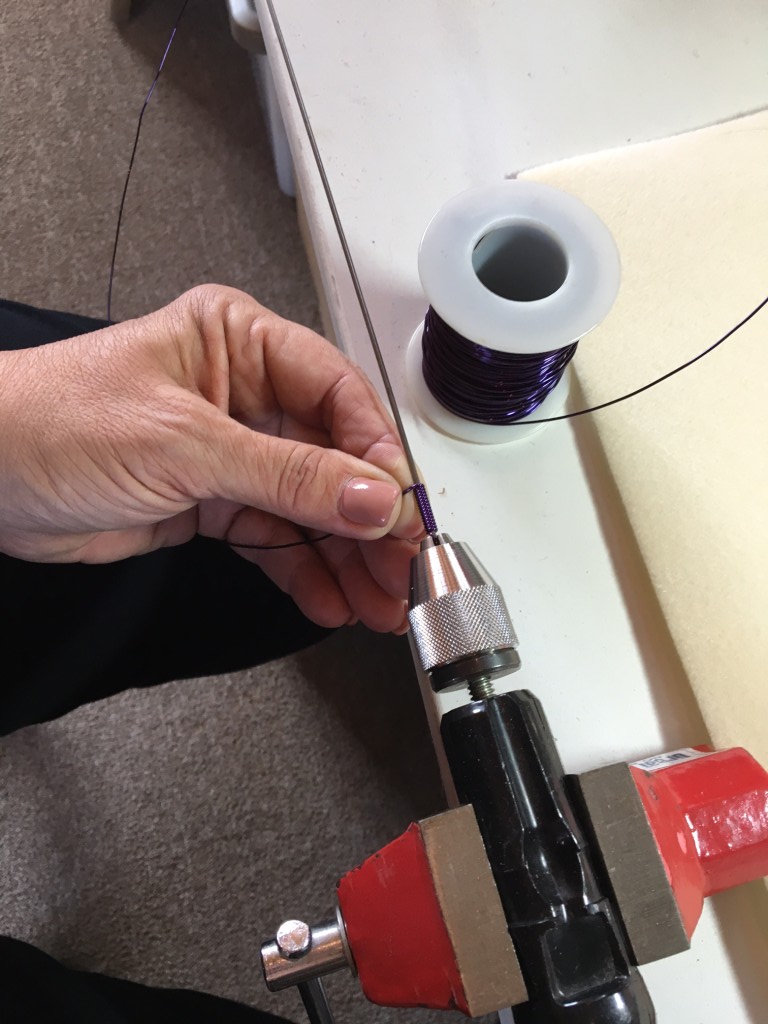
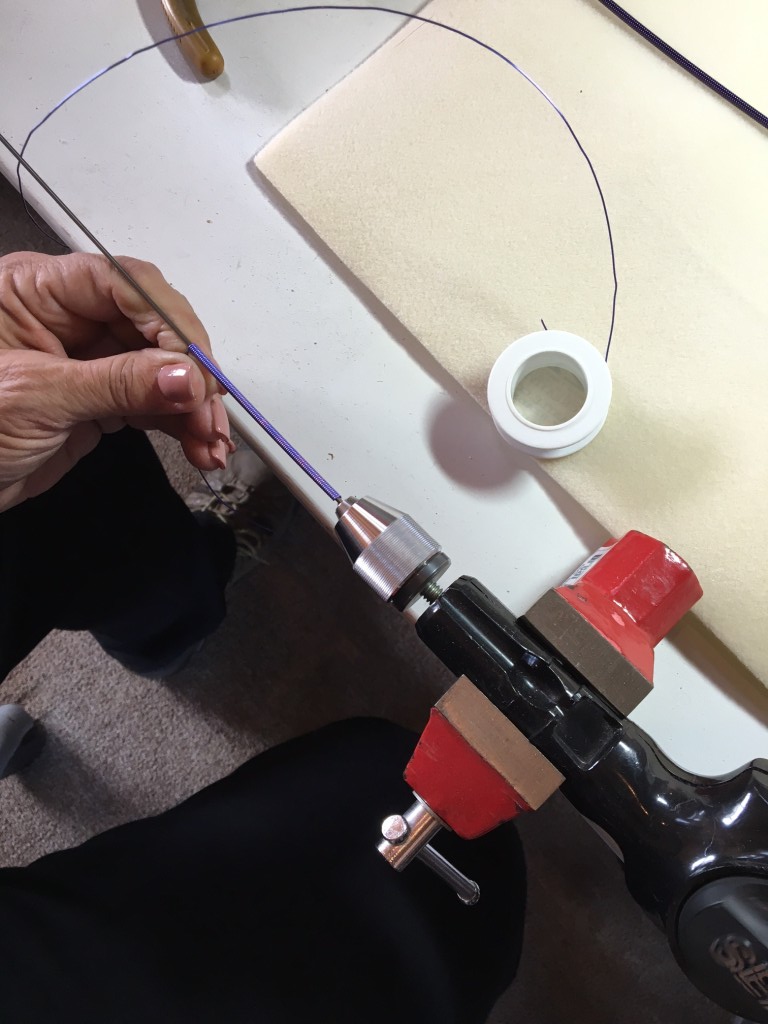
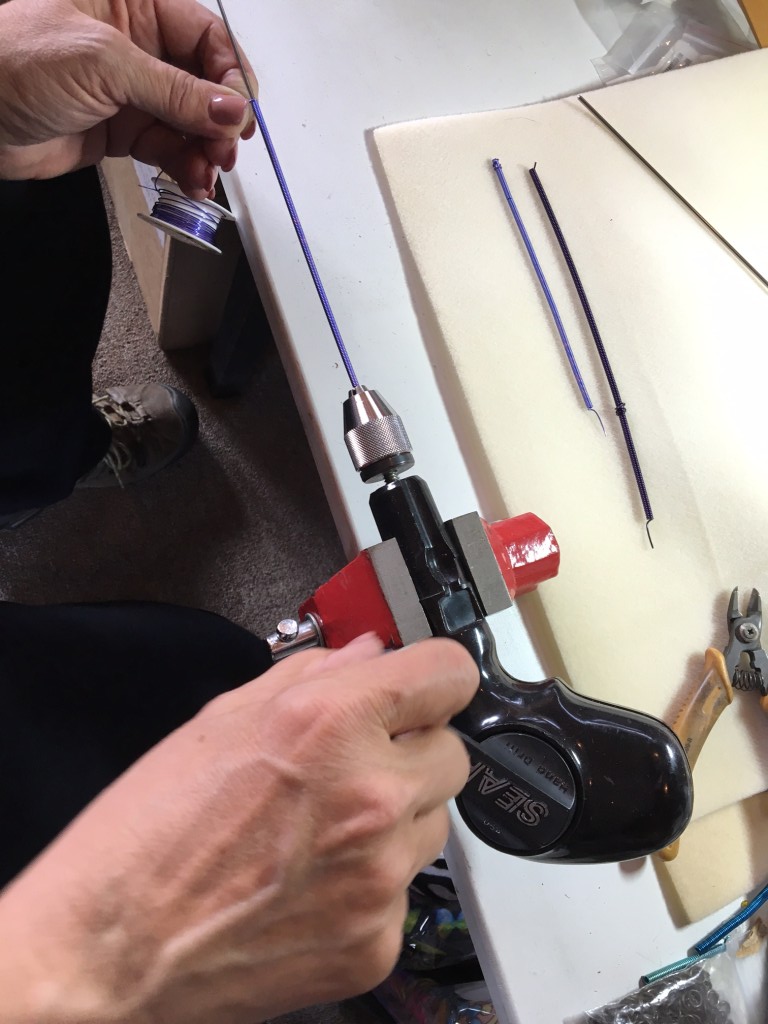
A faster alternative to making springs is using a hand drill. You insert the mandrel, crank the handle, and the wire twists around the mandrel. Because it’s so much faster, you have to be careful of the ends so they don’t cut you. At this speed, wire can get hot, so you can protect your hands by using a polish cloth or a glove.
Things about springs
Think before bending: Like other wire, springs are not very forgiving—especially once you put a sharp bend them. If you take your time and are patient bending them, you’ll get great results.
Shaping tips: I find that starting to shape them is hardest part. Put a wire through the core and the spring follows the curve of the core wire. To start bending a spring, bend a small tail (1.5″) of core wire at a right angle to the spring. Then hold both the end of the spring and the core wire together as your pliers begin to bend the whole coil. Take your time and it will come together.
Making adjustments: When you bend springs, they don’t always fan open nicely. If this happens, you can carefully use round nose pliers spread the spring open on the outside edge. This makes spaces along the outside curve. You can also adjust these spaces to look even and pretty.
Watch this space
I’m working on a yet-to-be-revealed piece that uses springs. Although I can’t say more about it yet, details are coming soon.
In the meantime, try out some curly wire in your work and, before you know it, you’ll have spring fever too!
