It’s surprising how often we need two hands or a healthy shoulder to make art. We don’t realize it until something is out of commission.
Last month, I finally had a postponed elective surgery on my left shoulder, and I’m recuperating well. However, it’s curtailed everything from cooking and sound sleep to creating art. My work has come to a screeching halt.
Thankfully, while my shoulder mends, my imagination and creativity can still play. Somehow not being able has me thinking more than usual about what I would create if I could.
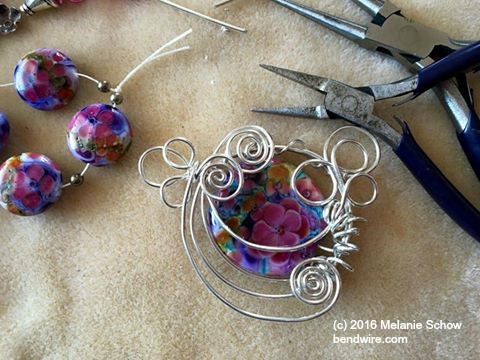
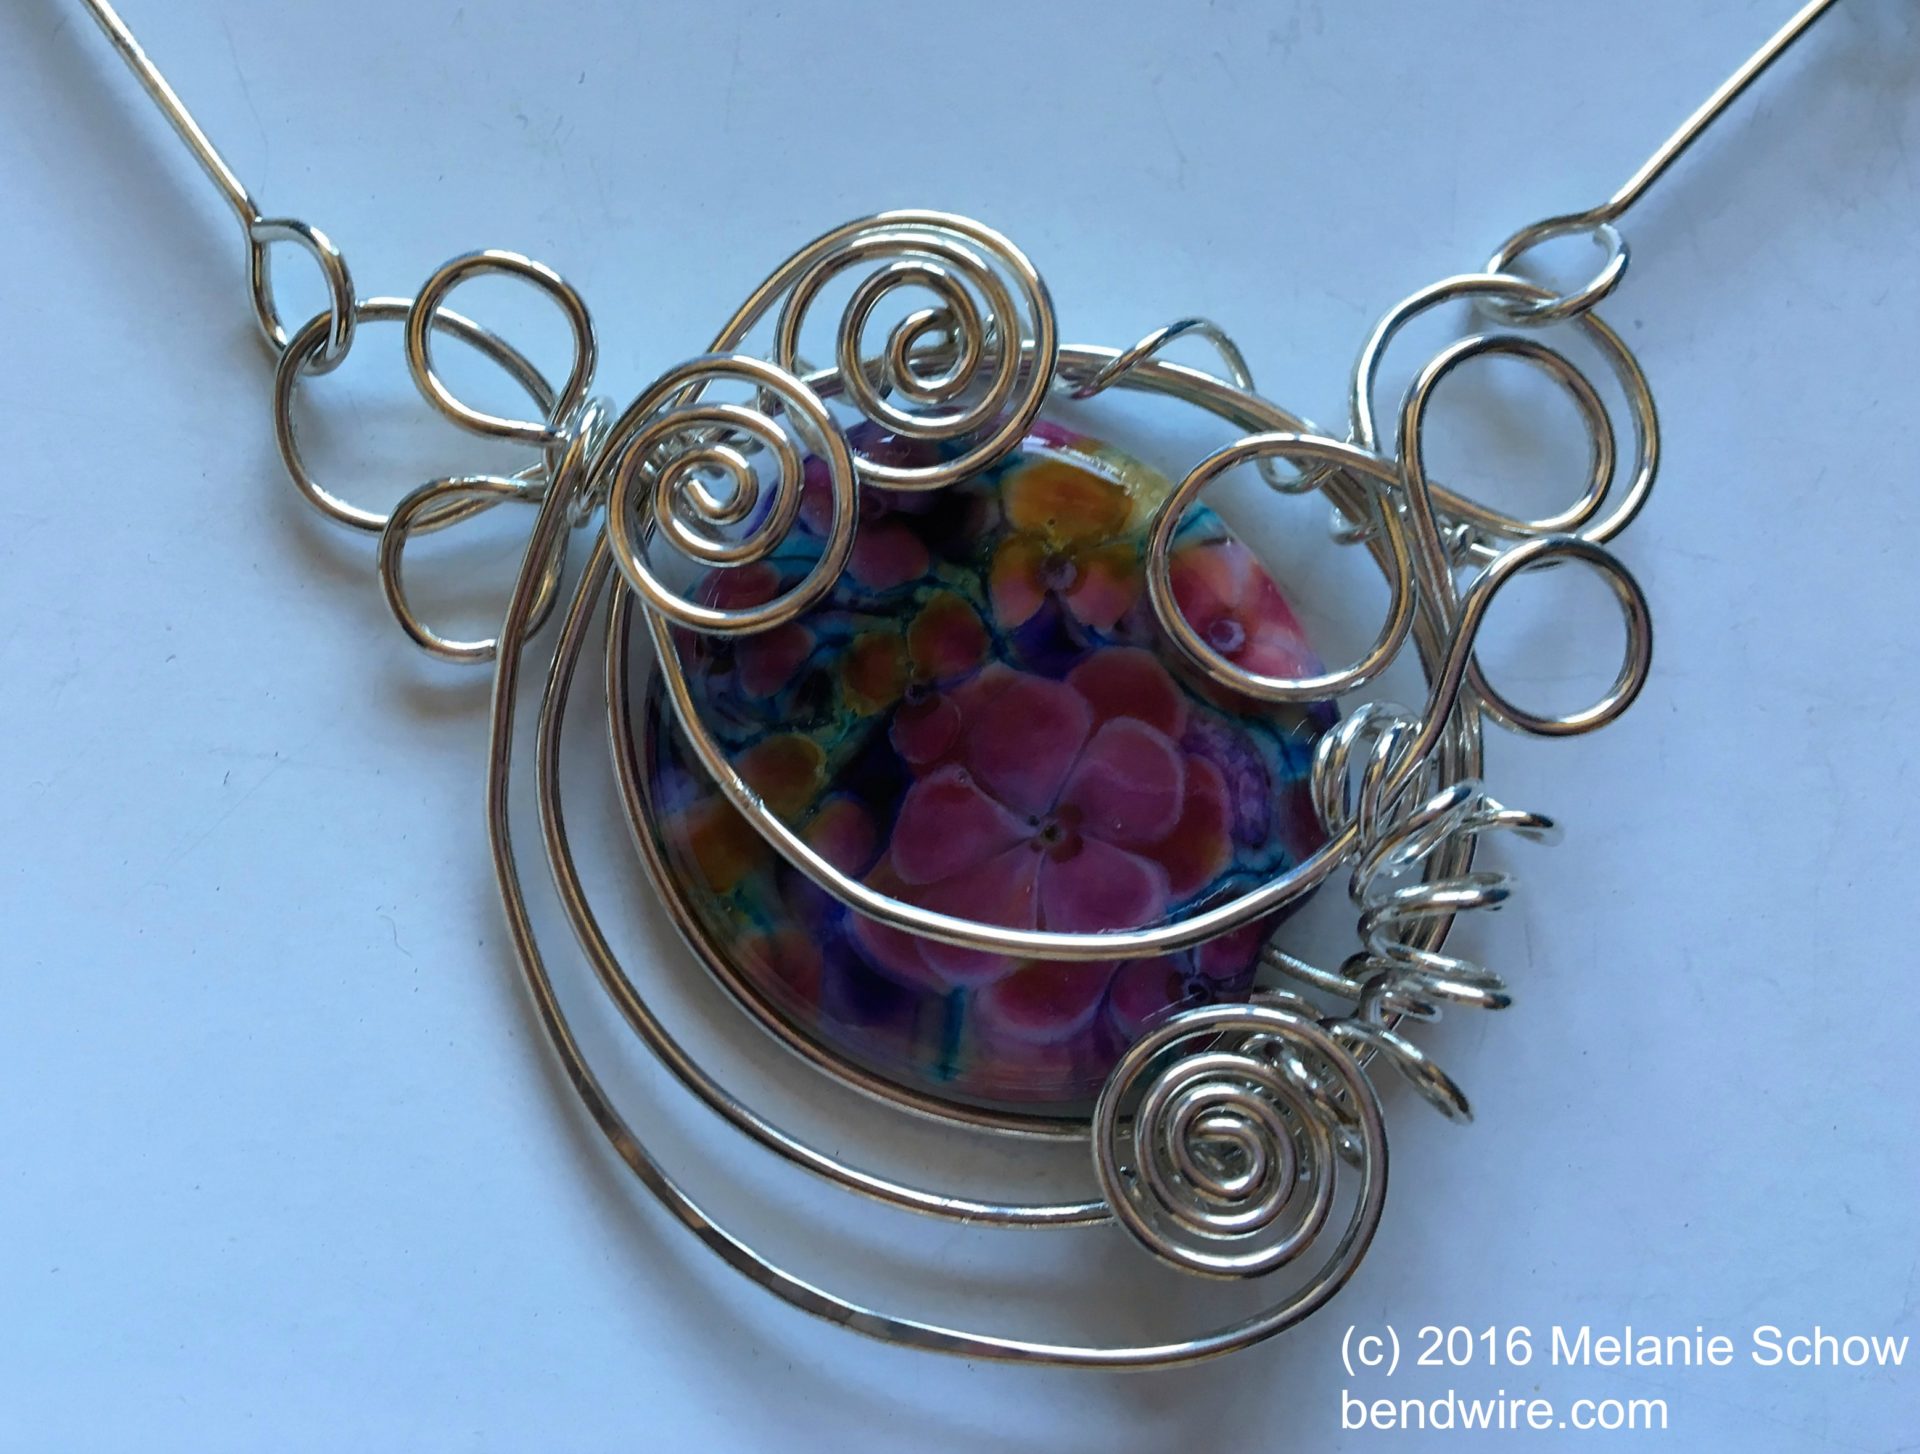
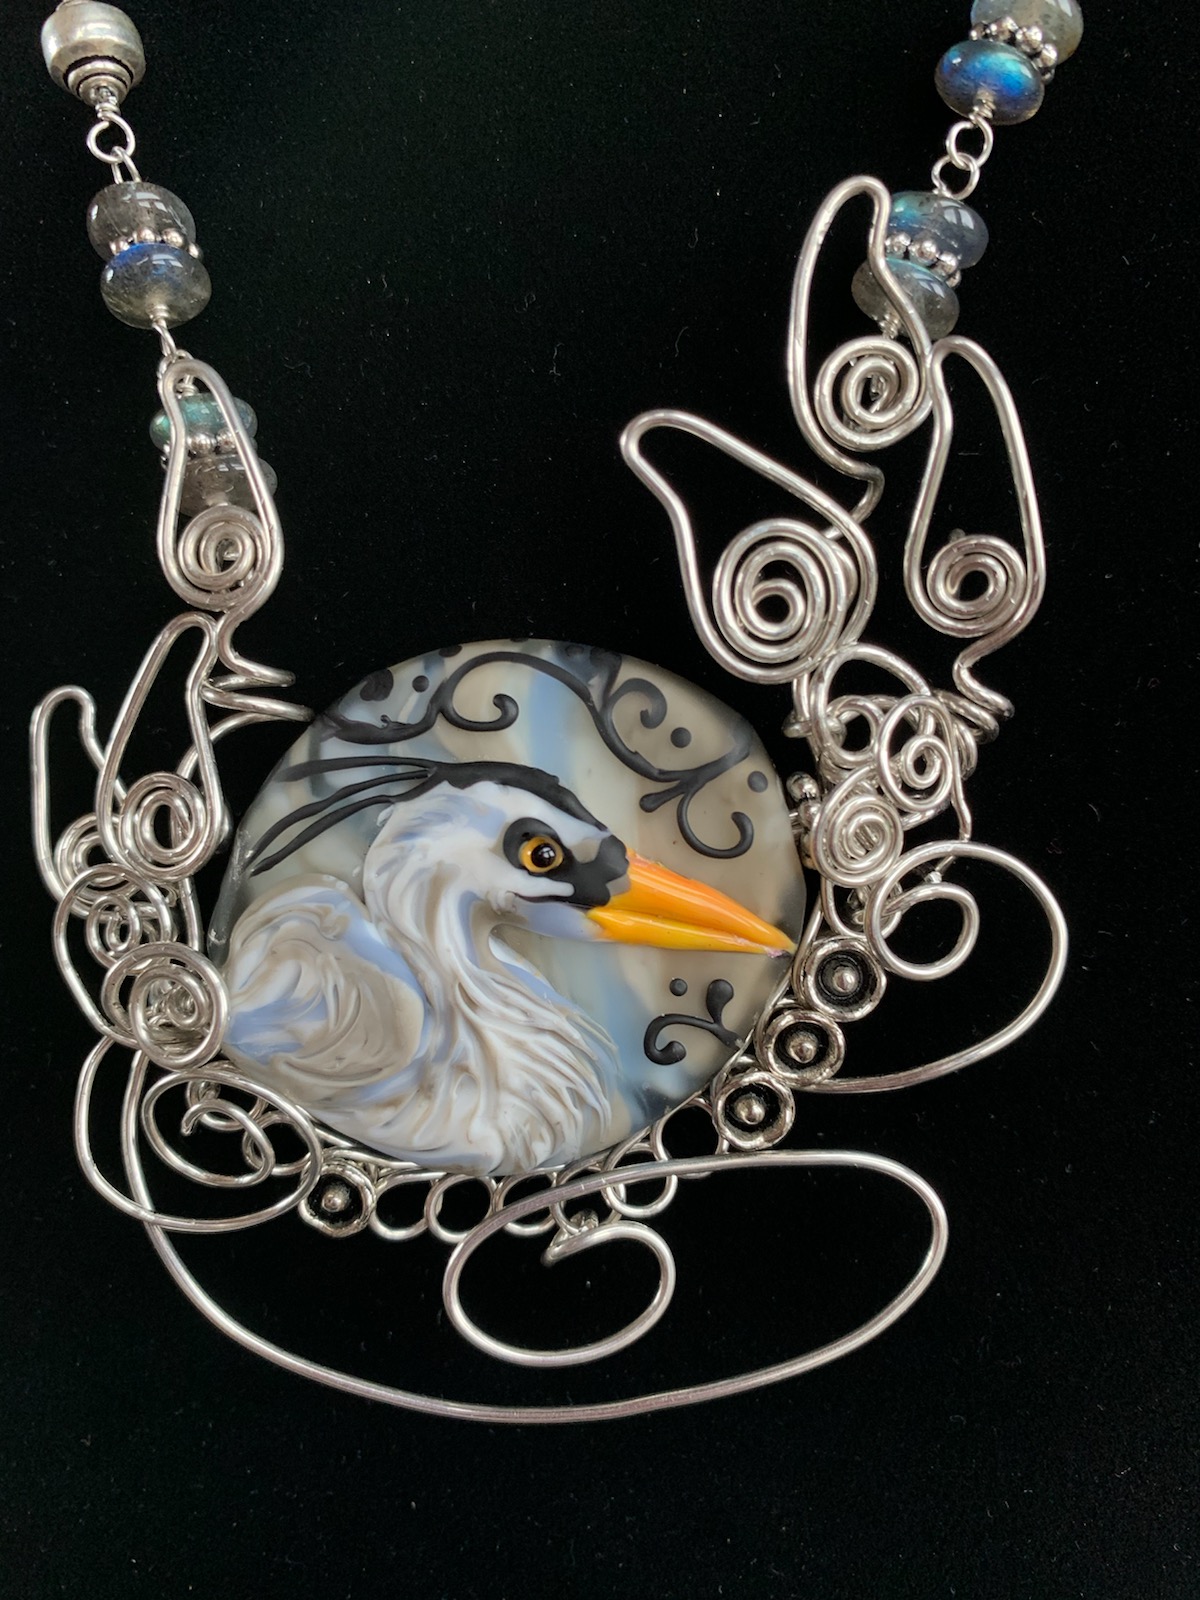
Lately, my mind has been returning to a project I was working on last fall—creating pendants with art glass (lampwork) animal beads. Some of the beads feature realistic heads and faces in beautiful detail like this Heron by artist Kerri Keffler that I’ve set in silver wire.
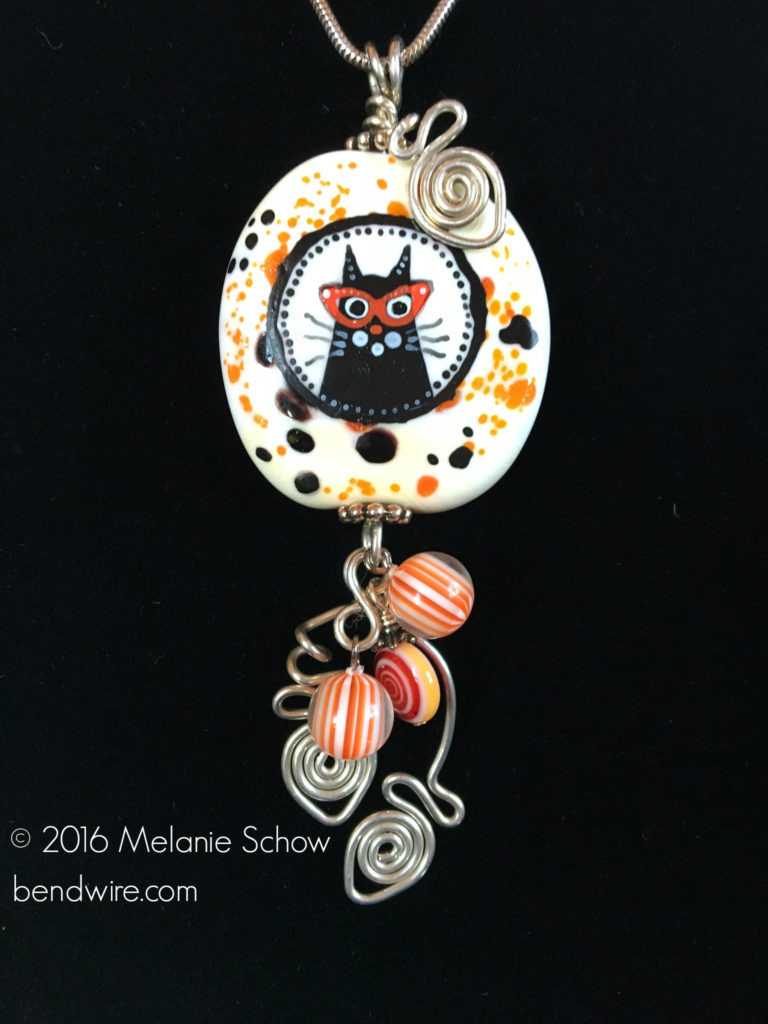
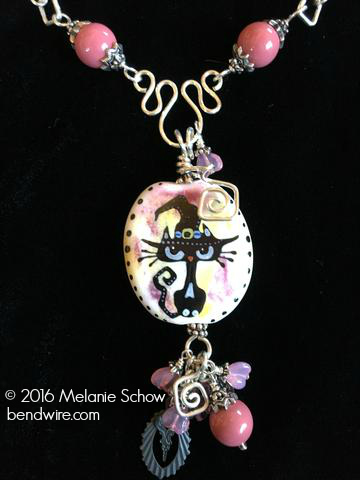
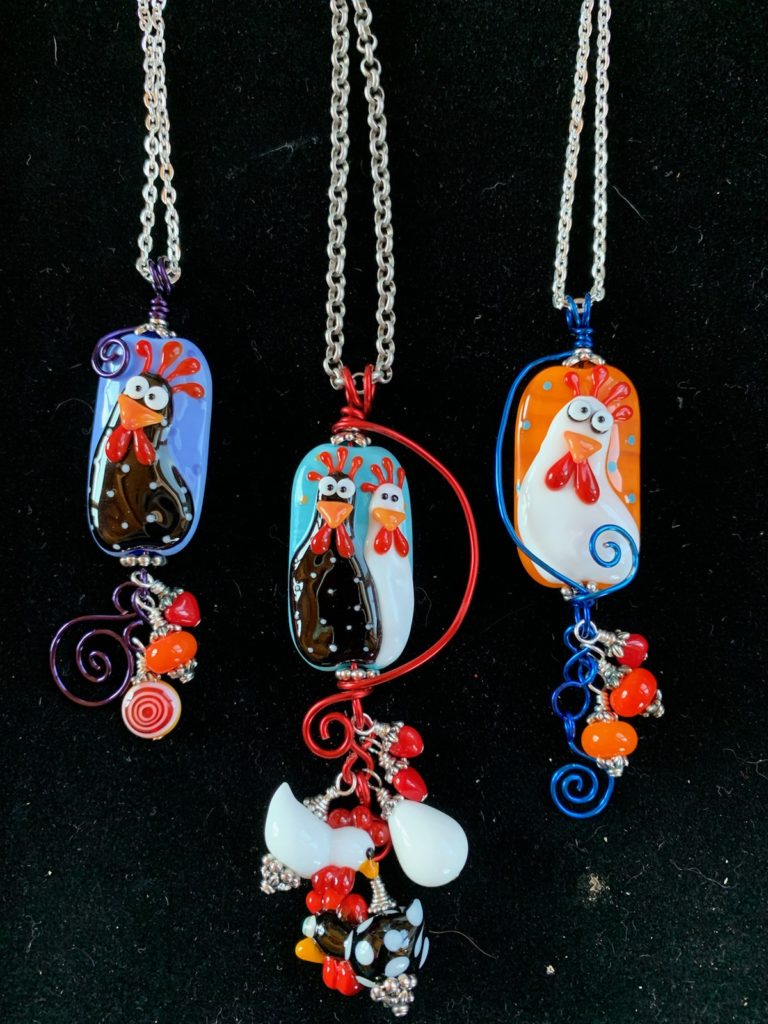
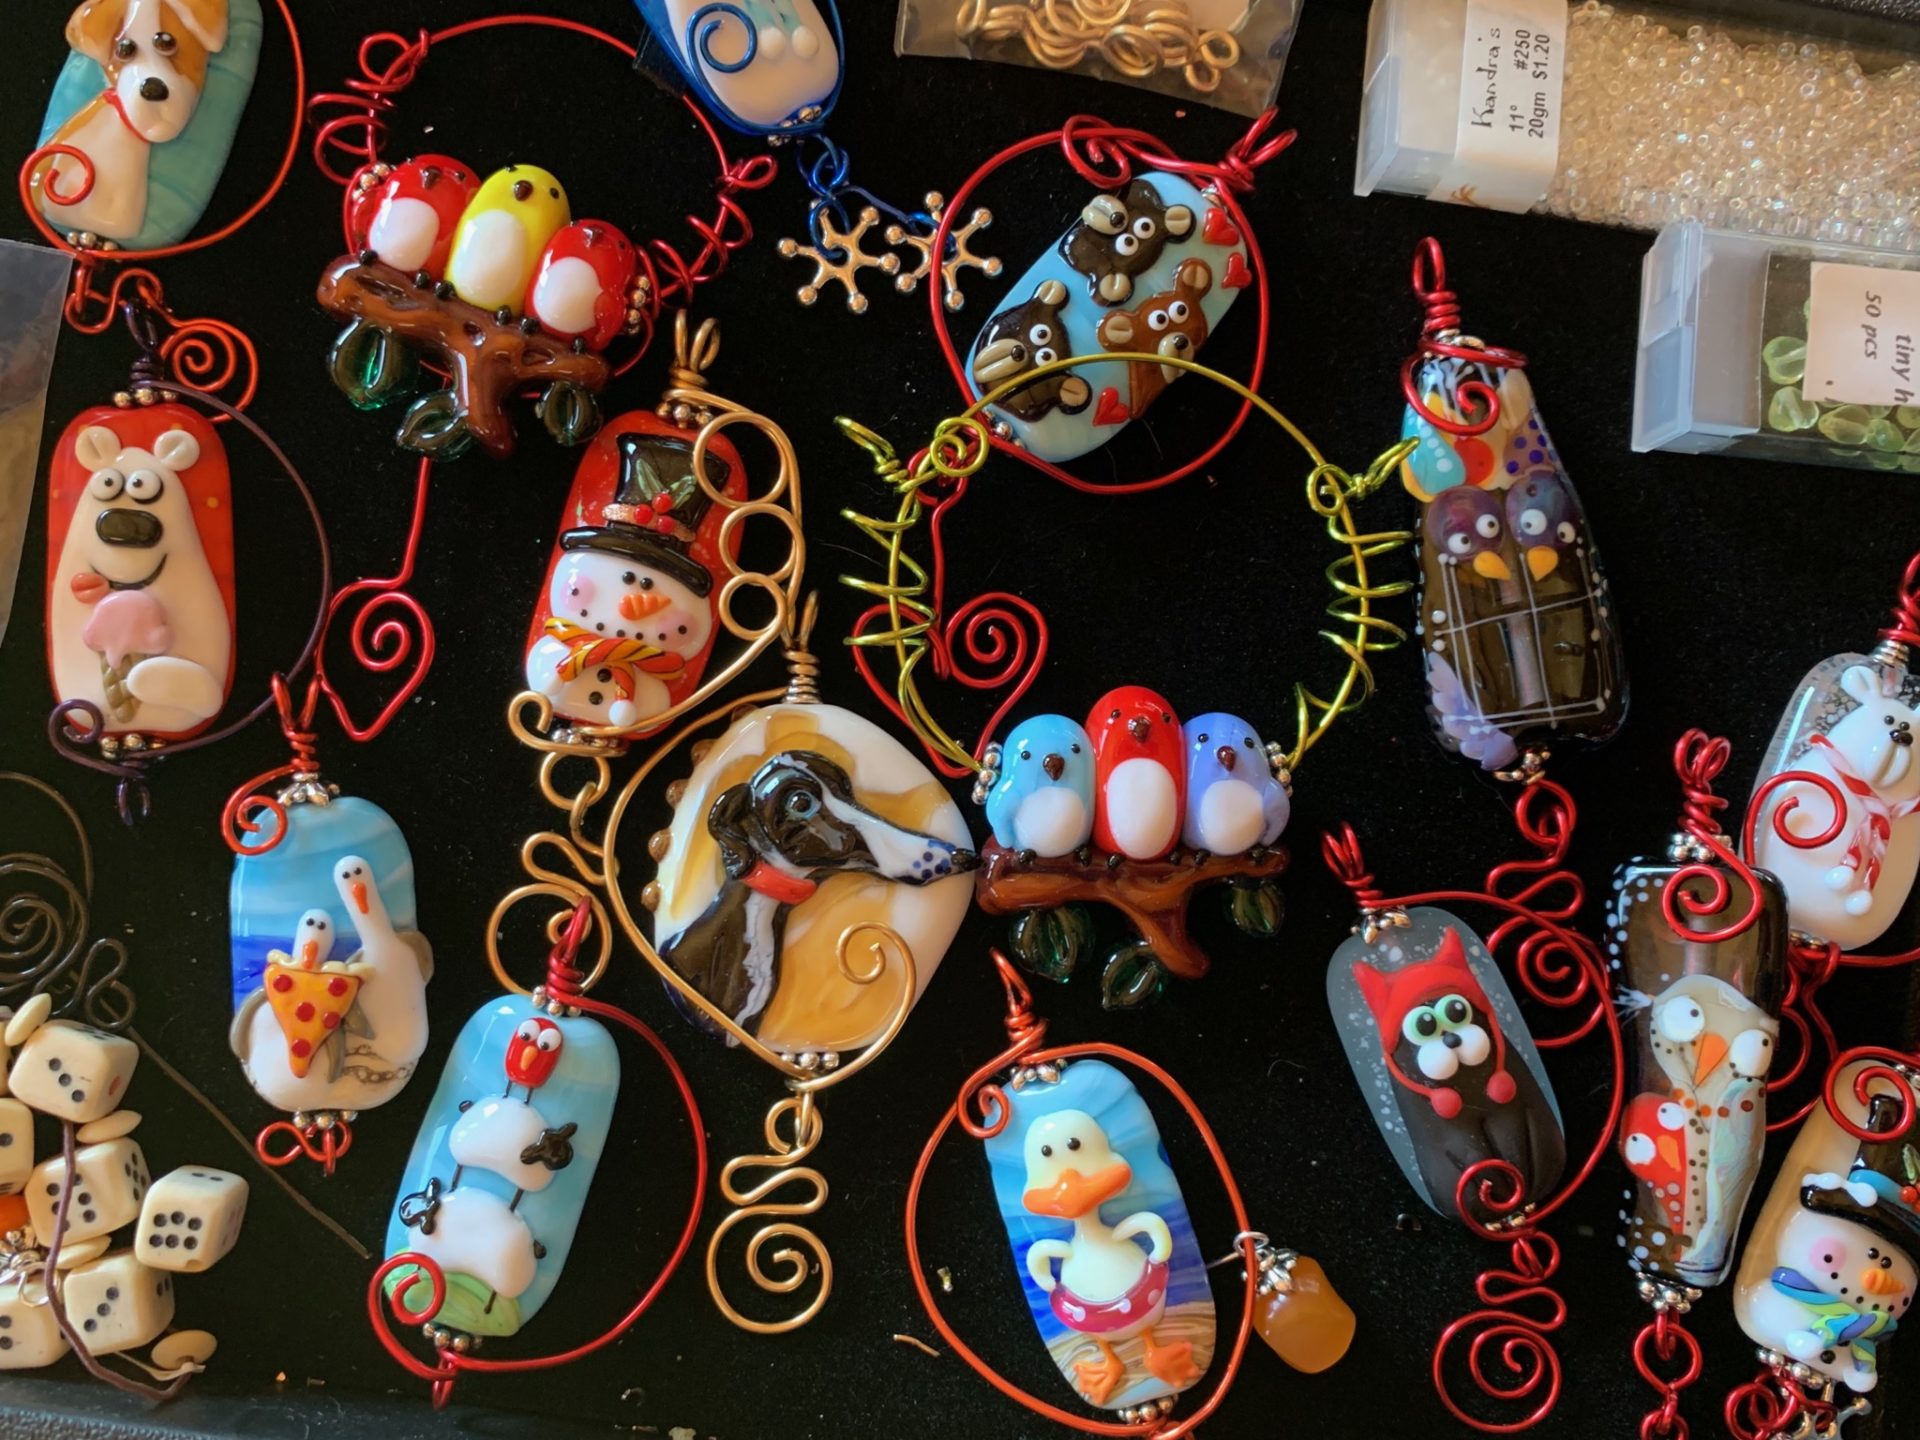
Others are playful, like these charming character beads by Catherine Steele.

Another of my current favorite beads are by artist Tammy Mercier. Her beads are stylized, realistic-looking animals that feature striking color combinations. The leopards below include silver and pink!

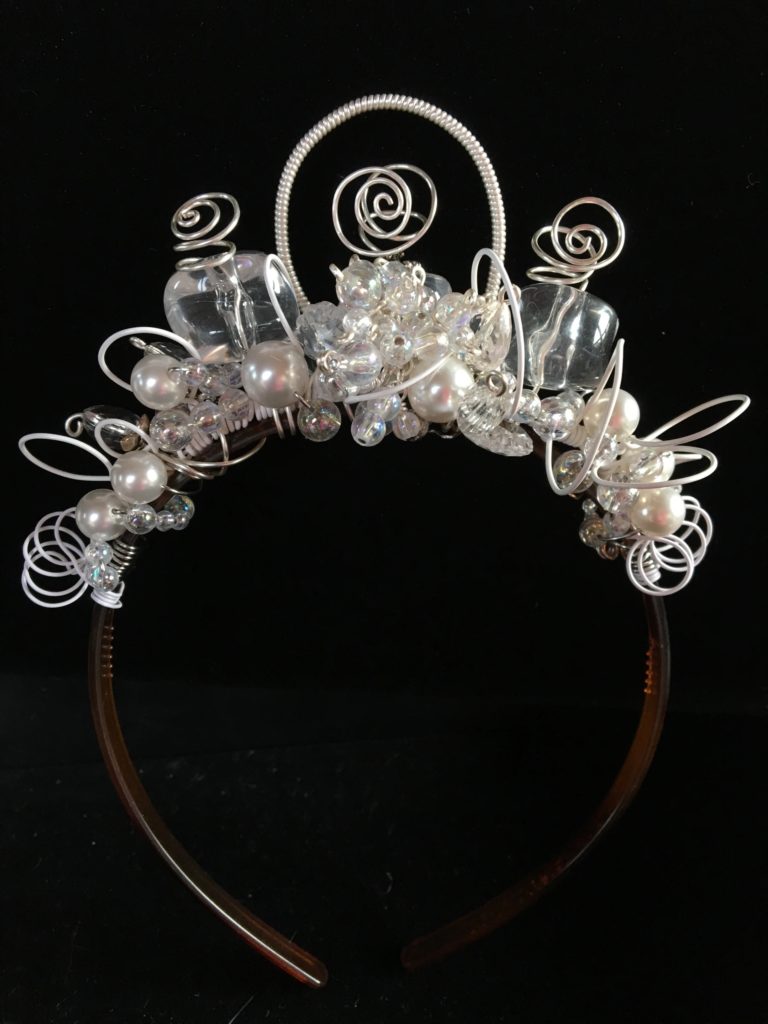
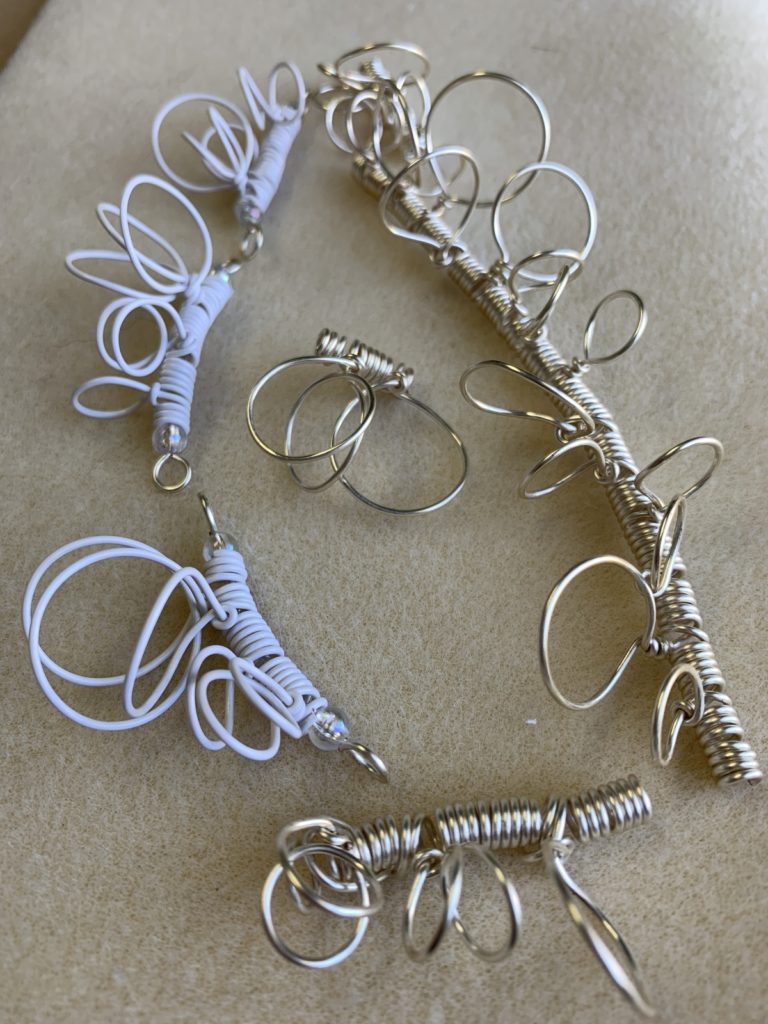
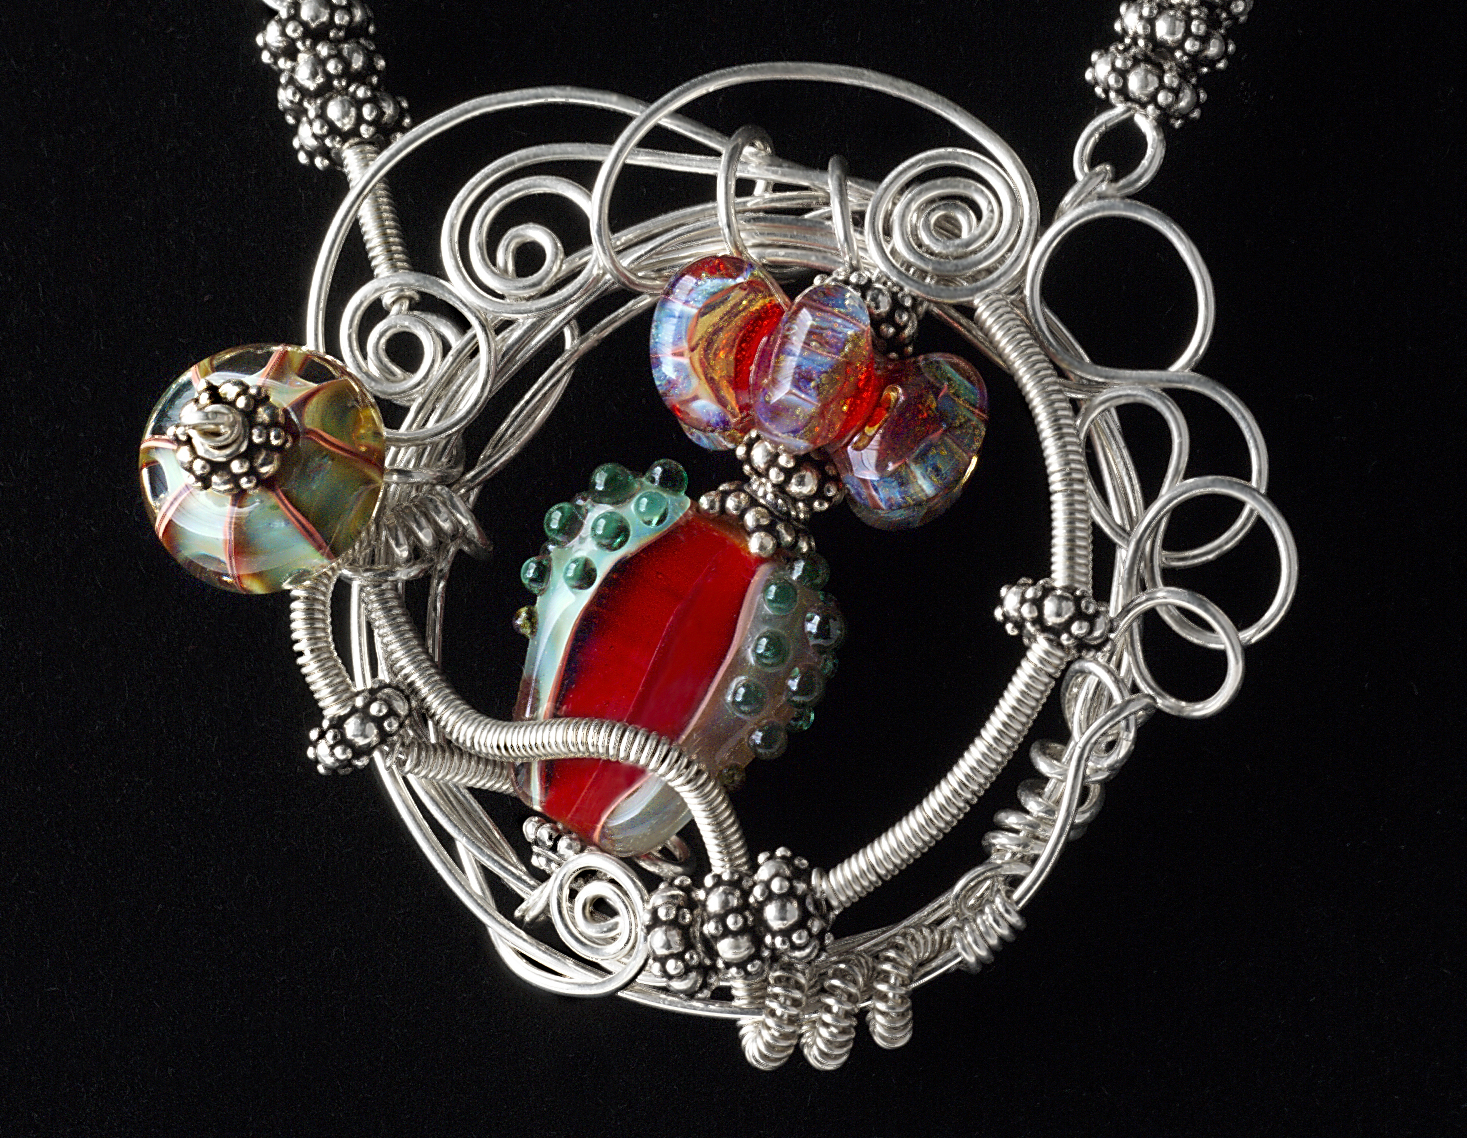
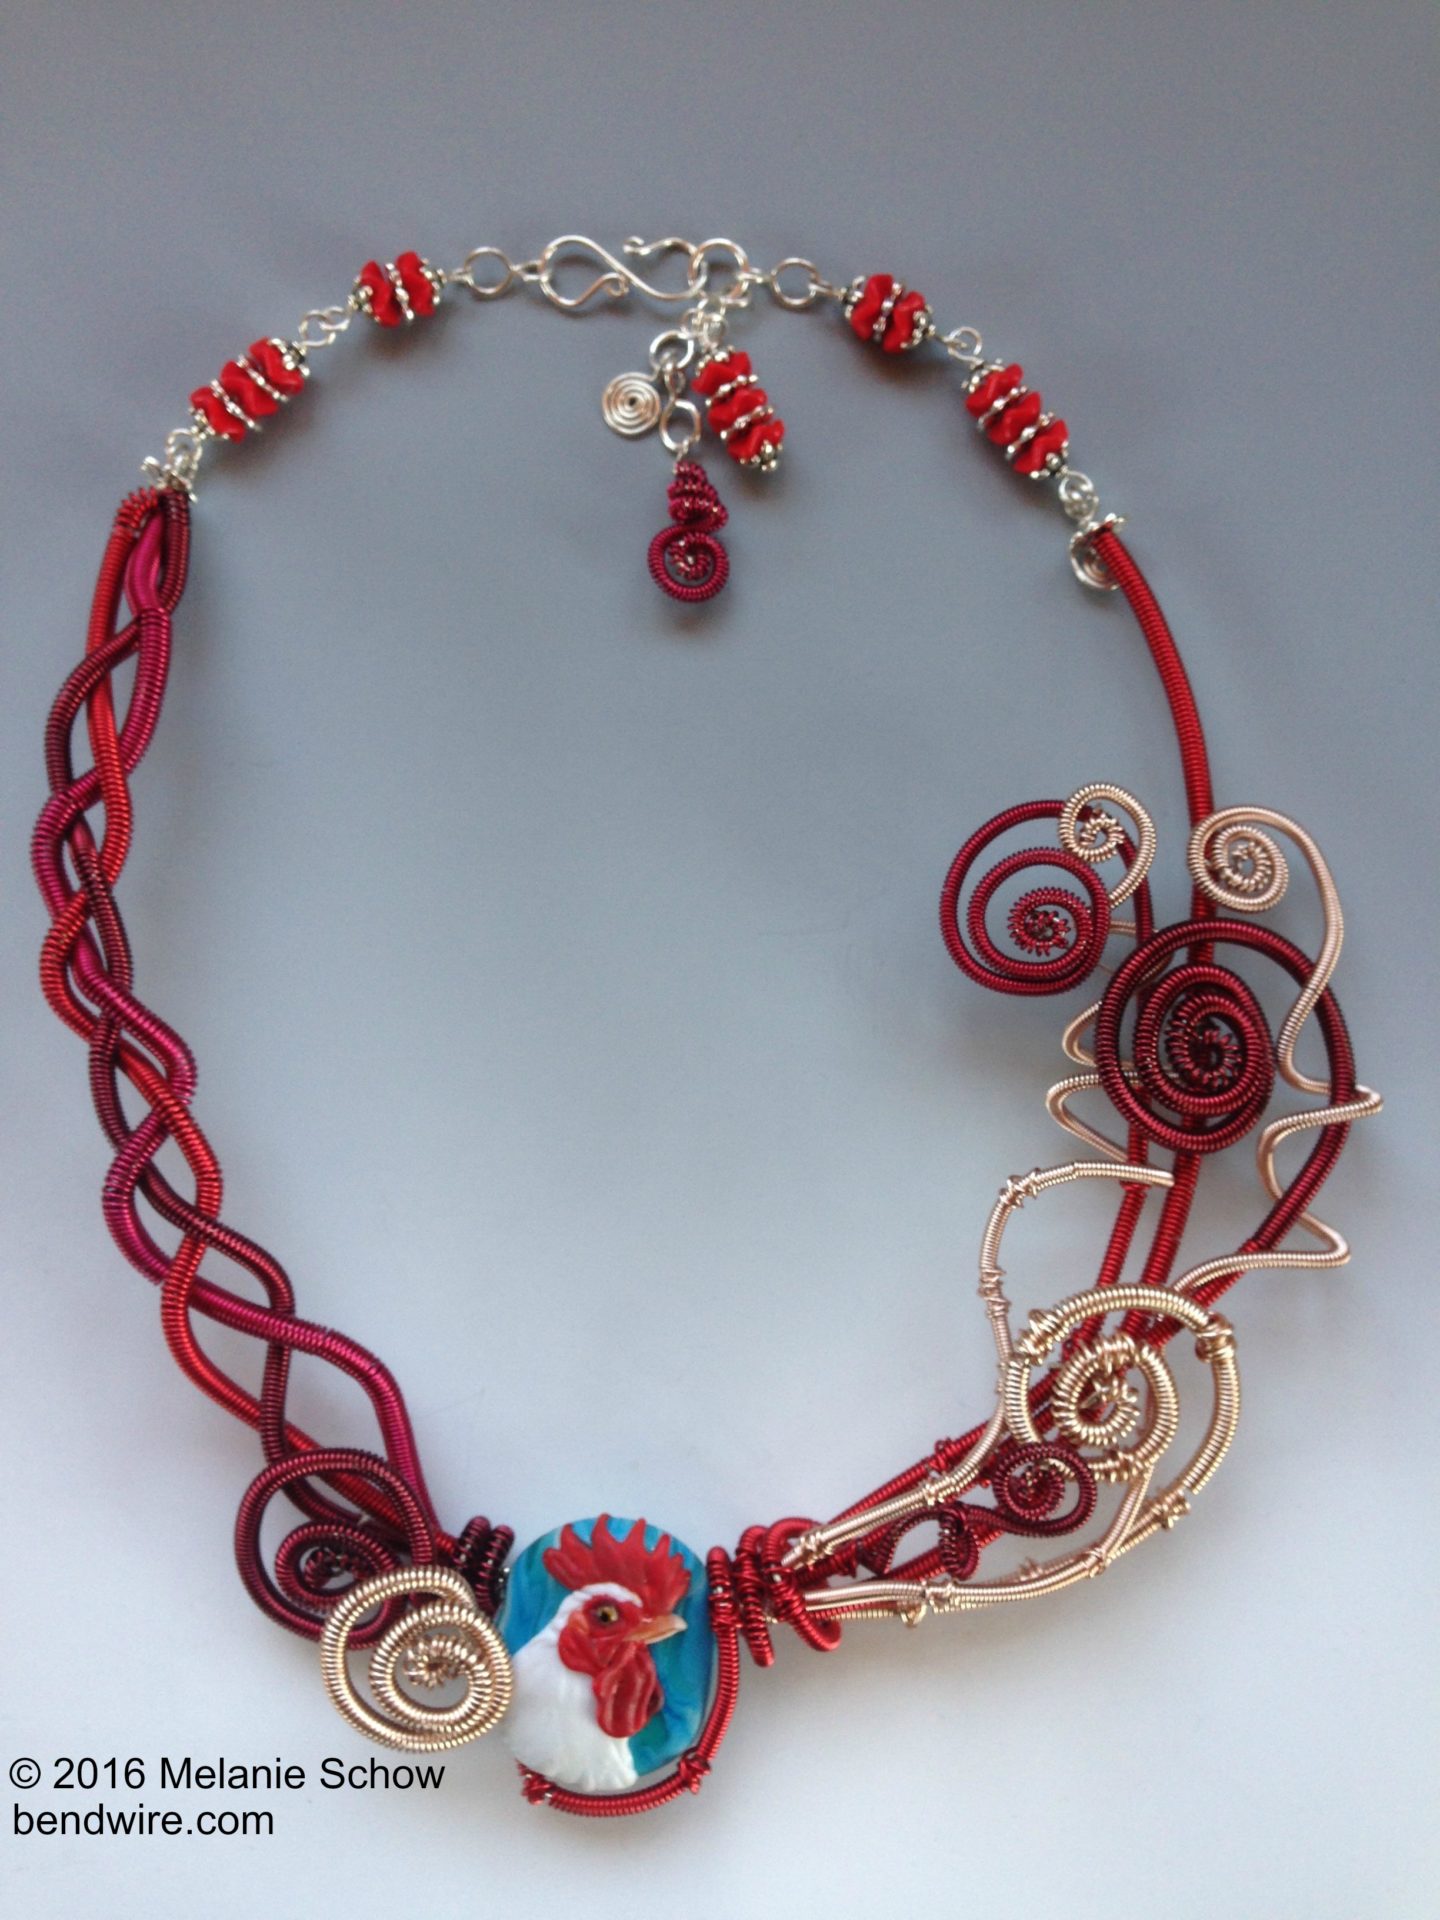
If I could use my shoulder, I’d be working on this series of sophisticated critter necklaces. In fact, I have a couple in the works that I need to pick up again once I regain the strength and dexterity in my left hand.
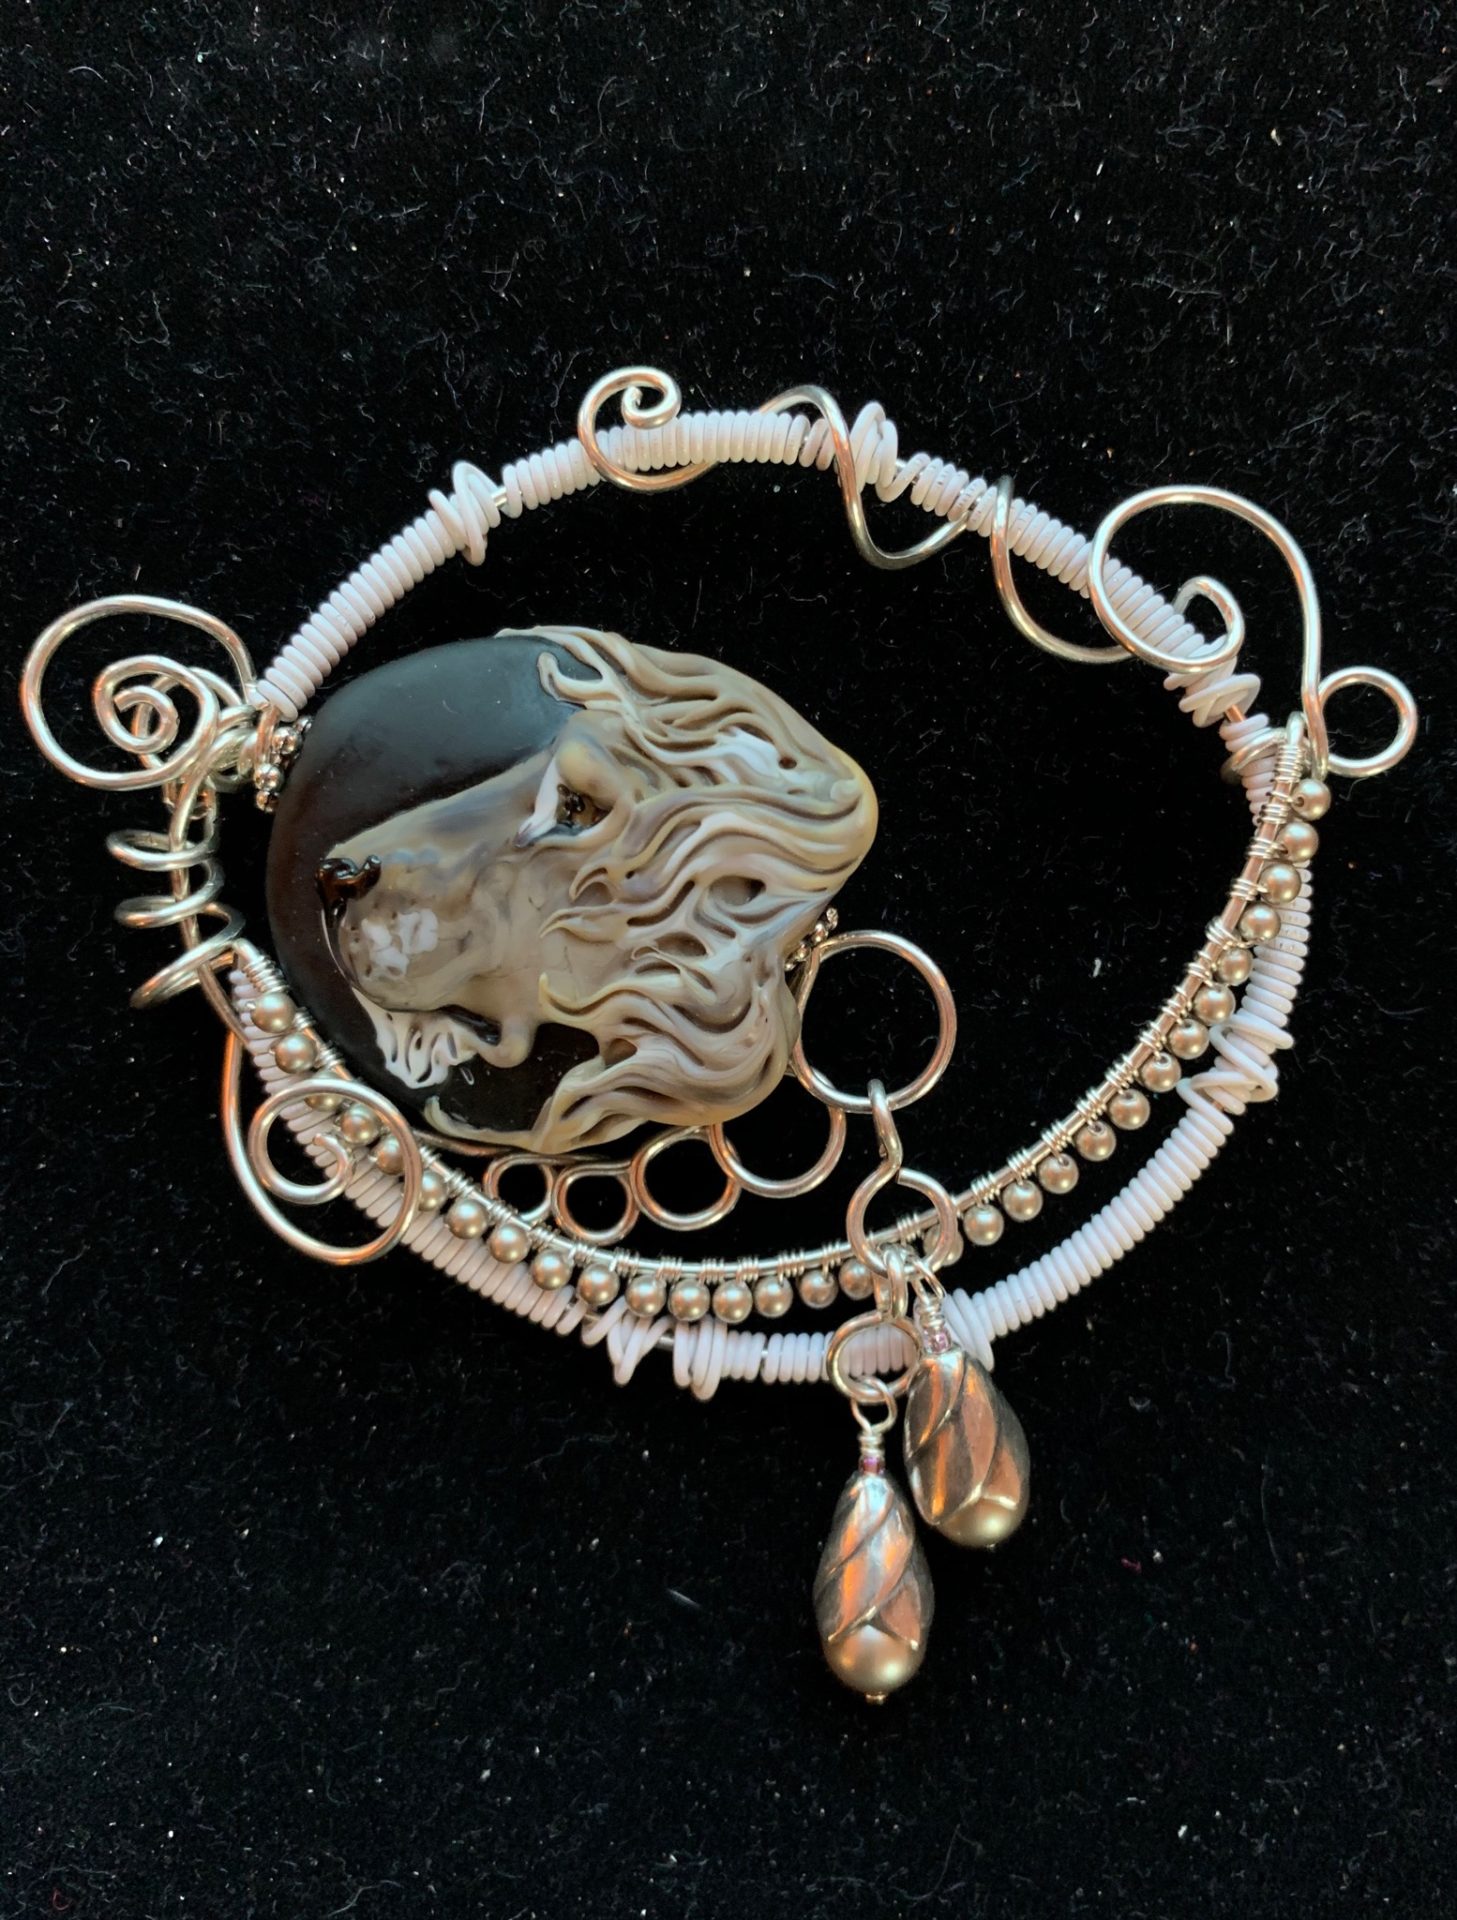
One of my Works in Progress (WiP) is this Lion bead by Kerri Keffler in a scrolled, embellished wire setting.
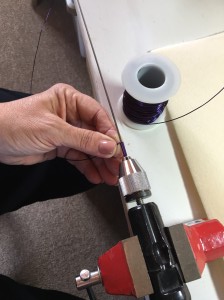
While I recover, I’m missing my wire. Creating beautiful jewelry with these stunning beads is one of my favorite activities. In the meantime, using my imagination is helping me feel excited about getting back to my bench. When I’m healed enough, I look forward to creating again!